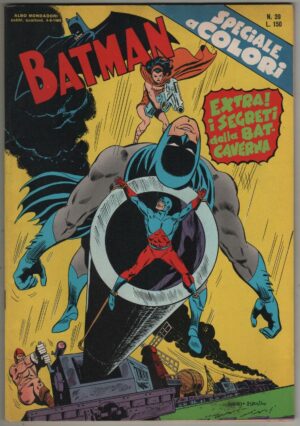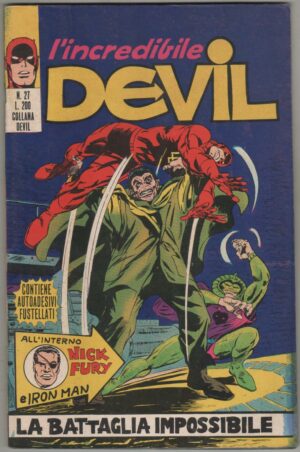
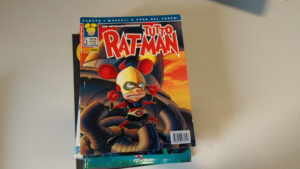
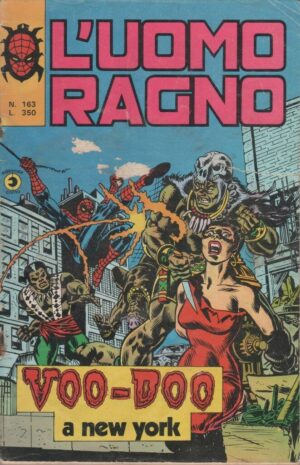
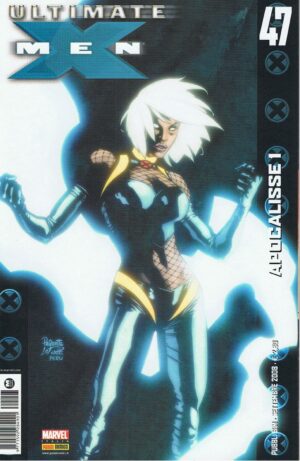


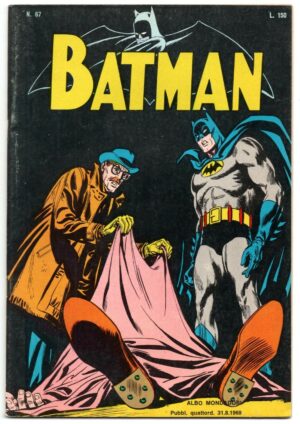


Descrizione
ALBO ORIGINALE DEL 1973
contiene IRON MAN e NICK FURY
CONDIZIONI : BUONISSIME, PICCOLO FRAMMENTINO MANCANTE NELL’ ANGOLO SUPERIORE SINISTRO, L’ ALBO NON E’ DI BUSTA

- Goodbye Matt.
Featured Characters:
Supporting Characters:
Villains:
Other Characters:
- Phil Kingston
- Michi Taylor
- Robert (A Newscaster)
Locations:
- New York City
- Matt Murdock’s Sutton Place Apartment
Items:
Synopsis
With the opening of Karen Page’s new movie in New York, Matt, Karen,
Natasha, Ivan and Foggy are all in attendance and speak to the media.
Also as part of the news broadcast is word that “Karl Stragg” (who is
really Raymond Bloch who has been stuck in Stagg’s body since Daredevil #15 is released from prison.
Wishing revenge on those who trapped him in a weak body, “Stragg”
suddenly undergoes a transformation that changes him back into his
original form of the Ox. Wracked with pain and building up with
radiation, the Ox blames Matt Murdock for putting him in jail to begin
with, and so goes on a rampage across the city.
Battling Daredevil, the Ox’s radiation builds up to such a degree
that his body explodes seemingly killing him. After the battle, Karen
admits to Matt that she still cannot handle him being Daredevil, and
leaves him to return to L.A. Matt then rekindles his romance with the
Black Widow.
Notes
- In this issue, Matt Murdock announces his engagement to Karen
Page, but the engagement is broken by the end of this issue and Matt
renews his “friendship” with Natasha. Karen Page will be seen next in Ghost Rider #13. Matt and Natasha will move to a mansion in San Francisco. Matt apparently ends his lease of his Sutton Place apartment in New York.
As seen on page one, this issue is Story#824-Z.

Featured Characters:
Supporting Characters:
Villains:
Other Characters:
Locations:
Items:
Vehicles:
- Maggia’s Casino Ship
- S.H.I.E.L.D. Helicarrier
Synopsis
Continued from last issue… In order to square his debts with the
Maggia, Morgan Stark (Tony’s cousin) has hand delivered Iron Man to the
Maggia’s leader the Big M, aboard Maggia run cruise ship (and illegal
casino) just past the boarder into international waters. There, Iron Man
has been locked into a room to face the Maggia’s costumed assassin:
Whiplash.After a brief scuffle where the weakened Iron Man is injured by
Whiplash’s electrified whip, Iron Man decides to buy himself some time
by using his hologram projector to confuse Whiplash with duplicate
images of the golden avenger.
Back at Stark Industries, SHIELD agent Jasper Sitwell has learned that
Iron Man was carried off the scene by Morgan Stark. After radioing in
for information from SHIELD HQ, Jasper is ordered to handle the
situation of finding Iron Man on his own. Jasper also has the task of
wading through Tony’s various female admirers, particularly a mysterious
woman in a fedora who has taken specific interest in the situation.
Back aboard the Maggia vessel, the batteries finally run out on
Iron Man’s holographic projector, with the true Iron Man revealed, the
Big M orders Whiplash to finish Iron Man off once and for all… This
story is continued next issue.

“At the Mercy of the Maggia” / ALLA MERCE’ DEL MAGGIA
|
|---|
Featured Characters:
Supporting Characters:
Villains:
Other Characters:
Locations:
Items:
Vehicles:
- Maggia’s Casino Ship
Synopsis
Continued from last issue… Iron Man is a prisoner aboard the
Maggia’s illegal casino/cruise ship out on international waters and is
at the mercy of their assassin Whiplash. Although his armor damaged and
his energy reserves almost empty, Iron Man uses the last of his power to
knock out Whiplash, however the drain on his energy also causes him to
pass out.
Meanwhile on the mainland, Jasper Sitwell is searching for Tony
Stark’s cousin Morgan, who was responsible for removing Iron Man from
the Stark Industries building. He receives a notice from Nick Fury
telling him that Morgan is being escorted onto a private plane by some
of the Maggia’s hired guns. Rushing to the airport, Jasper manages to
incapacitate the Maggia gunsels and save Morgan who tells Jasper what he
had done.
Back aboard the Maggia ship, Whiplash is about to destroy Iron
Man when he is stopped by the Big M, who orders him to bring Iron Man
into the science lab because Big M had deduced that Iron Man’s last
attack was that of a dieing man, and that the Maggia can benefit from
unlocking the secret to Iron Man’s armor. As they begin to try and open
up Iron Man’s armor with a powerful laser, Iron Man himself regains
consciousness but is too weak to free himself.
Suddenly, the ship is rocked by an explosion, as an AIM submarine
has arrived to steal Iron Man’s armor for themselves. The resulting
attack causes the lower decks of the ship to fill with water. As the
Maggia thugs and Big M escape, Iron Man now finds himself trapped to a
magnetic table in a room slowly filling with water… This story is
continued in Iron Man and Sub-Mariner #1.

“Doom Must Fall!” (2a parte)
|
|---|
Featured Characters:
Supporting Characters:
- Cliff Randall (Only Appearance)
- unnamed SHIELD agents
Villains:
- The Collective Intelligence
- The Others (aliens)
Other Characters:
- Agent Warden of Esp Division
Locations:
- Outer Space
Synopsis
Continued from last issue…
SHIELD’s ESP Division informs Fury a psychic
shield surrounds the entire base, preventing them from targeting the
device pulling the asteroid. When the rocket carrying the “collective
intelligence” that is “The Others” launches into space, Fury fears all
hope is lost. But Randall’s humanity wins out, as the rocket veers
off-course and hits the asteroid, destroying both and saving the Earth.
|
  |
Il 23-nov-12 alle 22:57:24 CET, il venditore ha aggiunto le seguenti informazioni sull’oggetto: