Descrizione
SERIE CRONOLOGICA DELL’ EDITORIALE CORNO, LA MAGNIFICA
COLLANA IN FORMATO GIGANTE DI GENIALISSIMO ED ESCLUSIVO BRAND TUTTO
NOSTRANO CHE IL
MONDO INTERO ANCOR OGGI CI INVIDIA
ALBO GIGANTE TUTTO A COLORI DEL 1980
Tra
sbadigli, lamentele e cori ingiuriosi, giunge finalmente a conclusione
l’ inopportuno trittico di Gerry Conway con la replica moderatamente
riveduta e minimamente corretta della storia speciale di Lo il mostro / Lo this monster uscita qualche anno addietro sull’ effimero Spectacular Spider-Man Magazine (in italia sui nn. 59 e 60 della prima serie originale Corno)
le altre 2 storie sanciscono invece il decollo definitivo della testata gemella MARVEL TEAM-UP dove sono ormai una triste realtà ufficiale
le partnership di Spider-Man con tutti gli altri supereroi dell’ harem,
in maniera sistematica, precisa e regolare come le fasi lunari e le
mestruazioni : negli episodi pubblicati in questo numero le tragiche ed infamanti pariglie toccano a un moscio e spento LA TORCIA UMANA (che non si è ancora completamente ripigliato dopo essere stato piantato dalla disumana Crystal) e dalla scatoletta corazzata dove sott’olio anzichè il tonno ci è finito il povero IRON-MAN
all’ interno 3 episodi completi
CONDIZIONI BUONISSIME
Featured Characters:
Supporting Characters:
Villains:
- Disruptor (Death)
- Dr. Thaxton (Final appearance)
- Smasher (Death)
Locations:
Items:
Synopsis
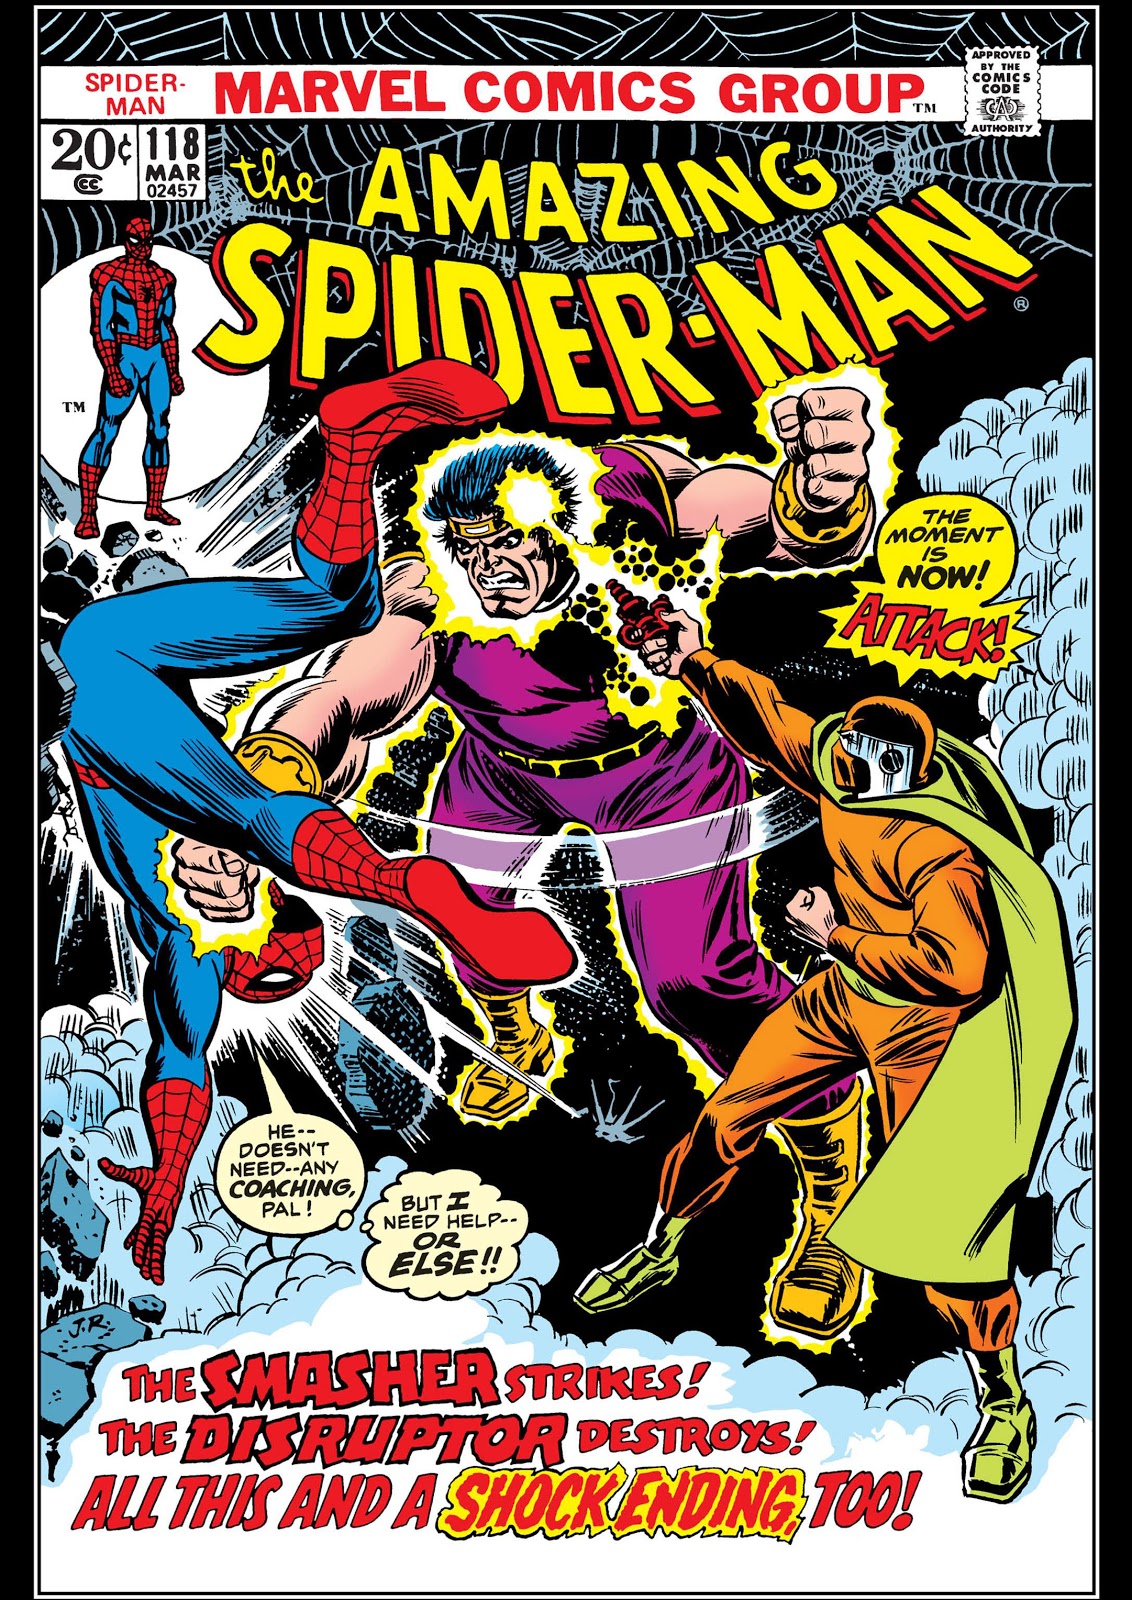
The Smasher is sent out to capture Joe Robertson, the one man resourceful enough to reveal dirt on Richard Raleigh. Spider-Man arrives in time to stop the creature from capturing Robertson, and leads the monster on a chase through the city, until he can escape. Resuming his guise of Peter Parker, Spidey joins Harry, Gwen and Mary Jane in driving a campaign truck for Raleigh’s campaign. It’s shortly attacked by the Smasher. Everyone gets out safely before the Smasher destroyed the truck, but a furious Peter Parker storms off after the monster, changing into Spider-Man to stop the monster once and for all.
With a spider-tracer, Spider-Man tracks the Smasher back to the Disruptor’s lair, there the Disruptor uses the control device on Smasher too much, causing the beast to go berserk, killing the Disruptor with but one blow. Spider-Man fights the monster until it overloads and dies itself. In the aftermath of the battle, Spider-Man unmasks the Disruptor and learns that it’s really Raleigh in disguise. He leaves the scene when the police arrive, and Jonah and Robertson discover the body of Raleigh, Jameson remains unconvinced that Raleigh was involved in any criminal activity, and intends on writing one of his usual anti-Spider-Man editorials for the Bugle’s next edition.
Featured Characters:
Supporting Characters:
Villains:
Other Characters:
- Avengers
- Black Bolt (Behind the scenes)
- Triton (Behind the scenes)
- Gorgon (Behind the scenes)
- Karnak (Behind the scenes)
Locations:
- New York City
- Avengers Mansion
- Peter and Harry’s Apartment
- Undisclosed 23rd Century Location
Items:
Vehicles:
- Zarrrko’s Flying Ship
Synopsis
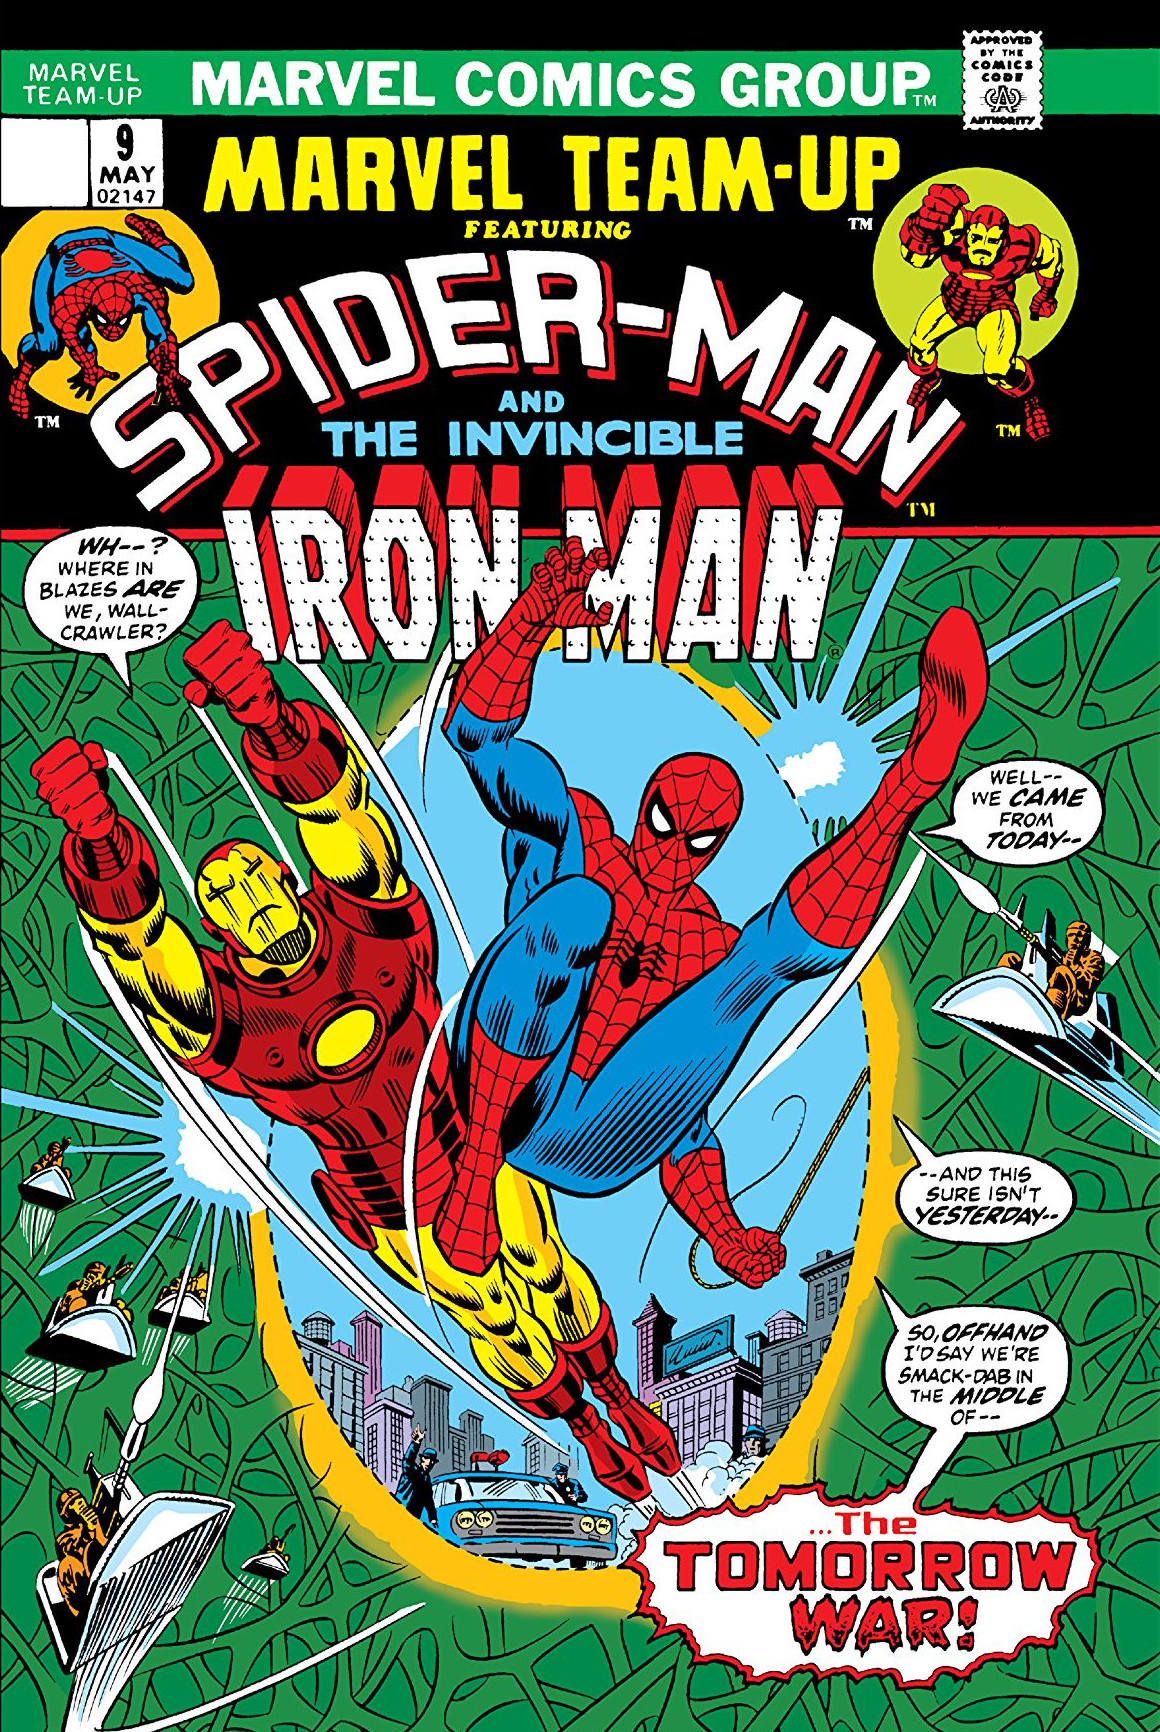
When Avenger’s Mansion suddenly is enveloped in a mysterious energy barrier, both Iron Man and Spider-Man go to investigate. After unsuccessful attempts to breach the barrier, a portal appears and the two heroes travel into it. Finding themselves transported to the 23rd Century, the two battle all manner of futuristic weapons.
Rescued by Zarrko, the Tomorrow Man, who tells them that the captured Avengers are prisoner of an invader in this time, Spider-Man and Iron Man agree to break into the compound in which they are prisoner. After a battle with various futuristic opponents, and Iron Man running low on power, the two heroes find their time displaced friends. > However, this all proves to be a minor success as they are knocked out by the invader, Kang the Conquerer. However, before Kang can destroy them Zarrko enters the room trying to destroy Kang.
Notes
- Iron Man’s cover image logo is recycled 1960’s Jack Kirby artwork from previous merchandising, particularly the Mighty Marvel Marching Society(M.M.M.S.) stationary pads given to its members.
- The John Romita primary cover image will later also become a cover logo image for Iron Man beginning in Iron Man #89.
- As seen on page one, this issue is Story#1341-Z.
Trivia
- The Mighty Thor is shown entrapped by Kang is a statis chamber but is not shown with Mjolnir. One can only assume that Mjolnir is behind the scenes and is an artist’s omission. At this time, the enchantment that, if Thor is seperated from Mjolnir for more than 60 seconds, he would have reverted to his mortal guise Don Blake. When Thor is freed in Marvel Team-Up #11, he is pictured again with his enchanted mallet
Featured Characters:
Villains:
Other Characters:
- Avengers
- Iron Man
- Vision
- Thor
- Scarlet Witch
- Captain America
- Quicksilver (Behind the scenes)
- Black Panther (Behind the scenes)
- Edwin Jarvis
- Black Bolt (Behind the scenes)
- Triton (Behind the scenes)
- Gorgon (Behind the scenes)
- Karnak (Behind the scenes)
Locations:
- Unknown 23rd Century Location
- New York City
- Japan
- Greece
- Venezuela
Items:
- Spider-Man’s Web-Shooters
- Iron Man Armor MK IV
- Captain America’s Shield
- “Time Portal”
- “Time Bombs”
Synopsis
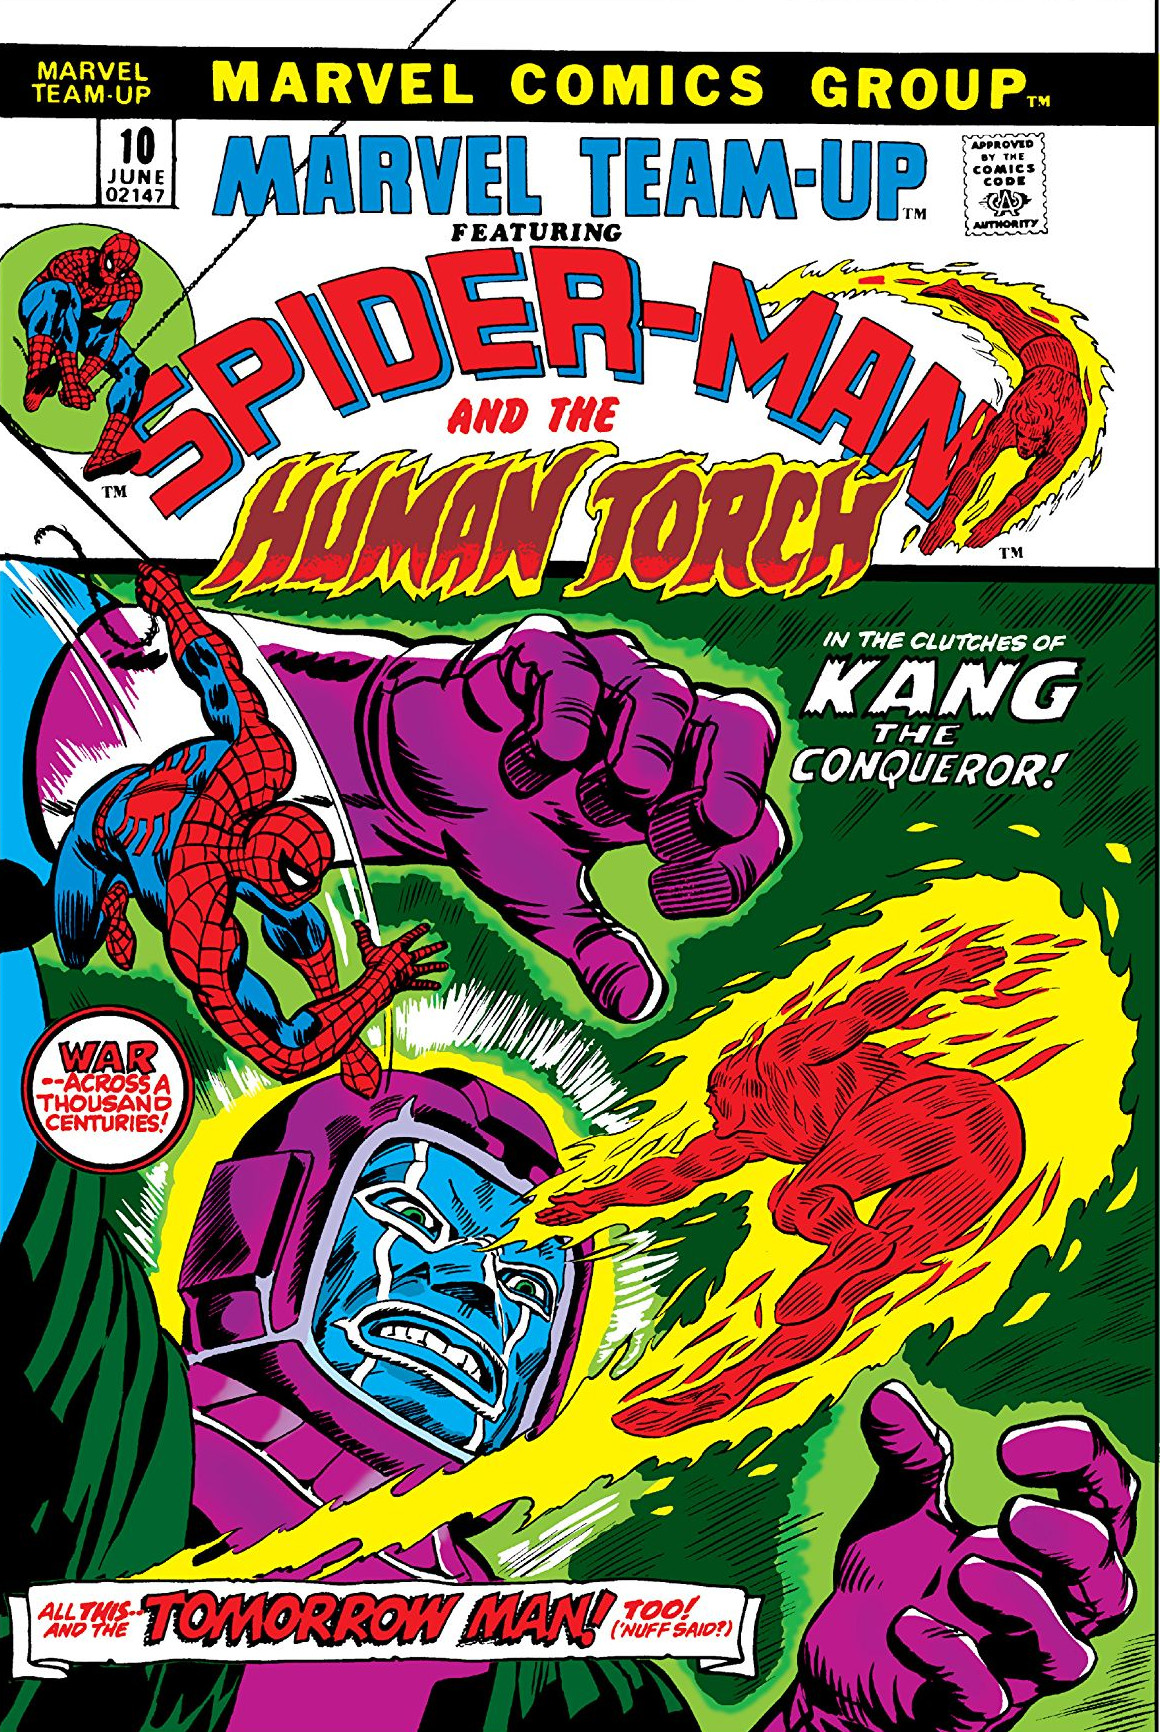
Kang and Zarrko have made an uneasy alliance, and Zarrko boasts about how he sent a number of time bombs back to the year 1973. The weapons radiation would cause all Earth’s technology and people to devolve to pre-industrial era devices and peoples.
With Iron Man down for the count, Spidey makes his escape through one of the citadels time machines and finds himself landed back to the present within the Fantastic Four’s headquarters. With the Human Torch as the only member present, Spider-Man tells him of the danger at hand. The two travel around the world and deactivate the various time bombs before they can finalize their effects.
After all the time bombs have been deactivated, the Torch recognizes the radiation given off by the devices as being similar to that which once created a Negative Zone around the Hidden Land of the Inhumans. The Torch tells Spidey to go and seek their aid to stop Zarrko and Kang, and departs, not washing to join in due to his still raw feelings over his ended relationship with Crystal.
Notes
- The next time the two heroes team up in Marvel Team-Up #39 (in Italy in URC # 179).
- As revealed in Fantastic Four Annual #25 (unpublished in Italy), this is not the real Kang, but a robot that he is controlling remotely.
- The narrative of this story points out that this story takes place prior to “current issues of Amazing Spider-Man”. It is referring to Amazing Spider-Man #119–120 (in Italy in URC # 131-132), which found Spider-Man in Canada battling the Hulk.
- Johnny Storm is wearing a red and yellow costume. He started wearing this variant costume in Fantastic Four #132 (in Italy in F4C # 130). He will wear this costume until Fantastic Four #159 (in Italy in F4C # 169).
- Johnny also mentions that the rest of the Fantastic Four are out looking for Agatha Harkness. She went missing in Fantastic Four #134 (in Italy in F4C # 132). They eventually rescue her from Annihilus in Fantastic Four #140–141 (in Italy in F4C # 138-139).
- The Torch refuses to join Spider-Man to Attilan because he is still sore about losing his long time girlfriend Crystal. Crystal was forced to return to Attilan in Fantastic Four #105 (in Italy in F4C # 103). There she met and fell in love with Quicksilver of the Avengers as seen in Fantastic Four #131-132 (in Italy in F4C # 129-130).